
1
Choose a Starting Point
From the Dynamic Routes page, click + Blank Route to start from scratch, or browse the templates at the top and click one to open the creation modal with it pre-selected.Available templates:
2
Create Your Route
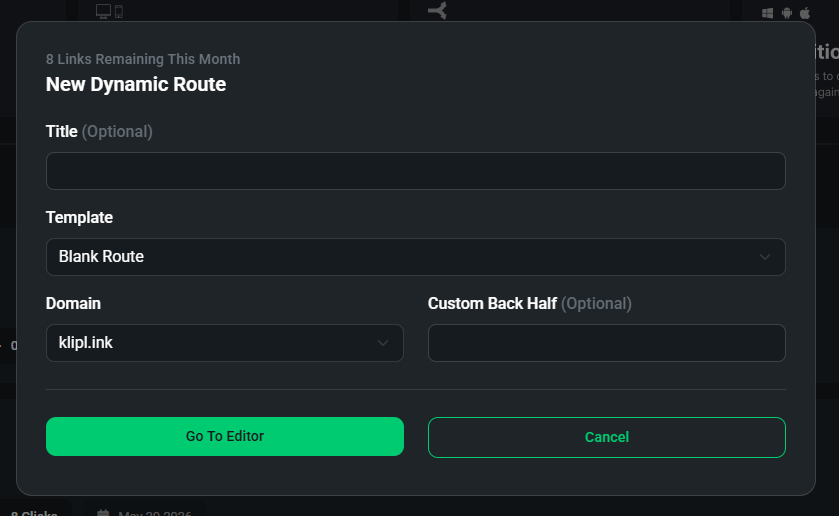
- Title (optional) — helps you identify the route in your dashboard
- Template — pre-selected if you clicked a template, otherwise defaults to Blank Route
- Domain — choose from
klipl.inkor any of your custom domains - Custom Back Half (optional) — customise the end of your short URL, e.g.
klipl.ink/my-app
3
Build Your Flow
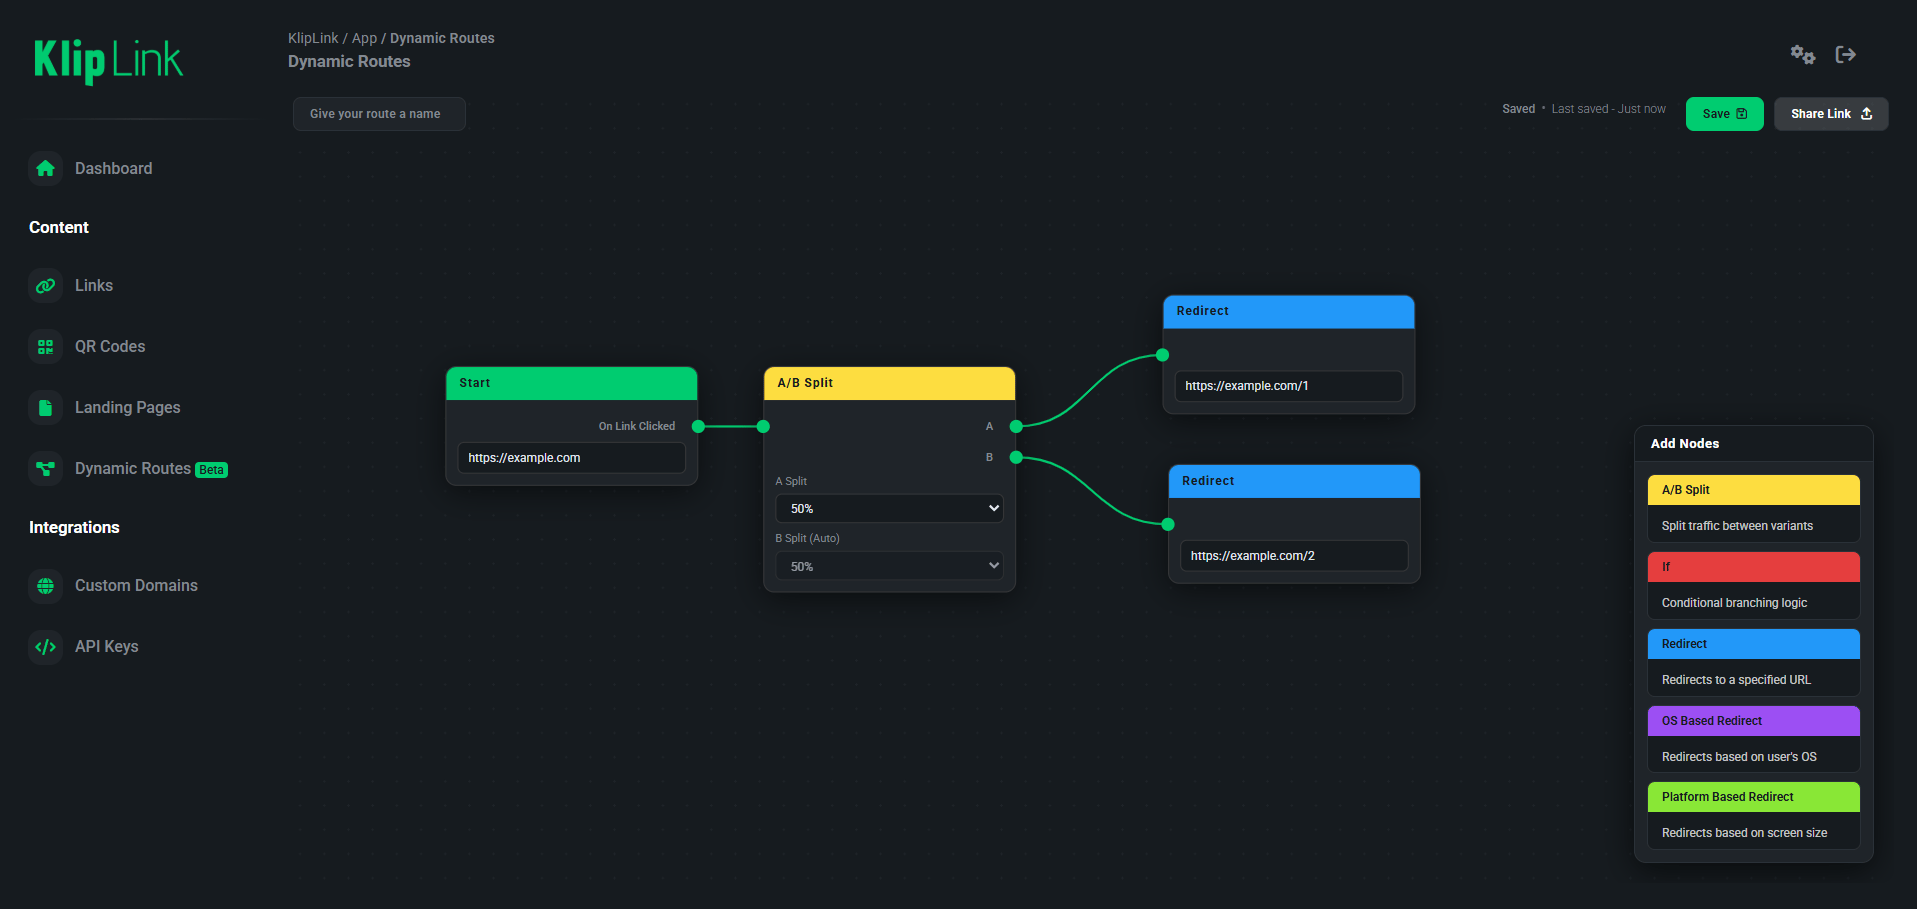
- A Start node on the left — this is where every click enters your route. You must set a fallback URL here in case no conditions are met.
- A node panel on the right — drag nodes onto the canvas to add logic
Available nodes:
4
Save and Share
When you’re happy with your flow, click Save in the top right. Once saved, click Share Link to copy your short URL and start sharing it.
Your route is live as soon as it’s saved — any clicks will immediately follow your latest flow.